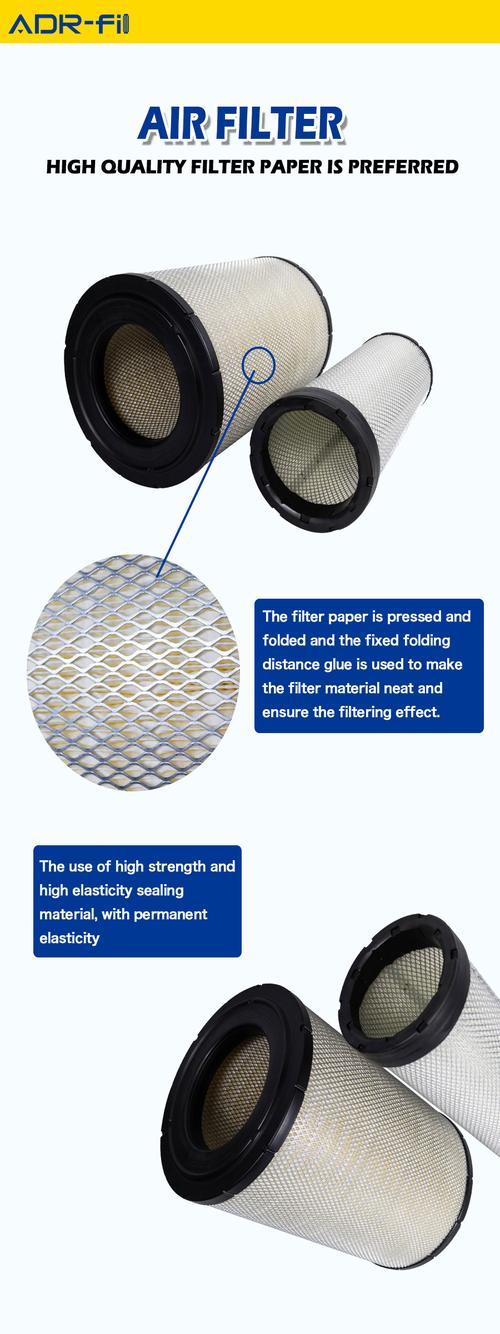
How to Clean Uni Foam Air Filter
Uni foam air filters are a common component in various appliances and vehicles, including HVAC systems, motorcycles, and even some home appliances. These filters are designed to trap dust, pollen, and other particles, ensuring clean air flow. However, over time, these filters can become clogged and less effective. Cleaning your uni foam air filter is essential to maintain its performance. In this article, we will guide you through the process of cleaning your uni foam air filter, step by step.
Materials Needed
Before you start cleaning your uni foam air filter, gather the following materials:

- Uni foam air filter
- Warm water
- Dish soap or mild detergent
- Soft brush or sponge
- Old towel or rag
- Container for soaking
Step 1: Remove the Air Filter
Locate the uni foam air filter in your appliance or vehicle. Depending on the model, it may be located behind a panel or grille. Carefully remove the filter from its housing. Be sure to note the direction of the airflow, as this will be important when re-installing the filter.
Step 2: Inspect the Filter
Examine the filter for any signs of damage or excessive wear. If you notice any tears or holes, the filter may need to be replaced rather than cleaned.
Step 3: Prepare the Cleaning Solution
In a container, mix warm water with a few drops of dish soap or mild detergent. The soap will help to break down any dirt and grime on the filter.
Step 4: Soak the Filter
Submerge the uni foam air filter in the cleaning solution. Allow it to soak for about 15-20 minutes. This will help to loosen any debris that may be trapped in the filter.

Step 5: Gently Brush the Filter
Using a soft brush or sponge, gently scrub the filter to remove any remaining dirt or grime. Be sure to work in the direction of the airflow to avoid damaging the foam.
Step 6: Rinse the Filter
Rinse the filter thoroughly under warm water to remove any soap residue. It’s important to ensure that all soap is washed away, as it can leave a film on the filter that may affect its performance.
Step 7: Dry the Filter
Place the filter on an old towel or rag to dry. Avoid using a hairdryer or any other heat source, as this can damage the foam. Allow the filter to air dry completely before re-installing it.
Step 8: Re-install the Filter
Once the filter is completely dry, re-install it in the same position as before. Make sure it is oriented correctly, following the direction of the airflow.
Preventative Maintenance
Regularly cleaning your uni foam air filter will help to maintain its performance and extend its lifespan. Here are some tips to help you keep your filter in good condition:
- Check the filter regularly for signs of dirt or debris.
- Replace the filter every 3-6 months, or as recommended by the manufacturer.
- Avoid using harsh chemicals or abrasive materials when cleaning the filter.
Cleaning your uni foam air filter is a simple and effective way to maintain the air quality in your home or vehicle. By following these steps, you can ensure that your filter remains in good condition and continues to provide clean air for years to come.