How to Use uni-t Multimeter: A Comprehensive Guide
Understanding how to use a multimeter is essential for anyone involved in electronics, whether you’re a hobbyist, a professional, or just someone curious about the world of circuits. The uni-t multimeter is a popular choice due to its affordability and reliability. In this guide, we’ll walk you through the basics of using a uni-t multimeter, from setting it up to interpreting the readings.
Unboxing and Initial Setup
When you first unbox your uni-t multimeter, you’ll find the device itself, a user manual, and sometimes a test lead set. Before you start using it, make sure to familiarize yourself with the following components:
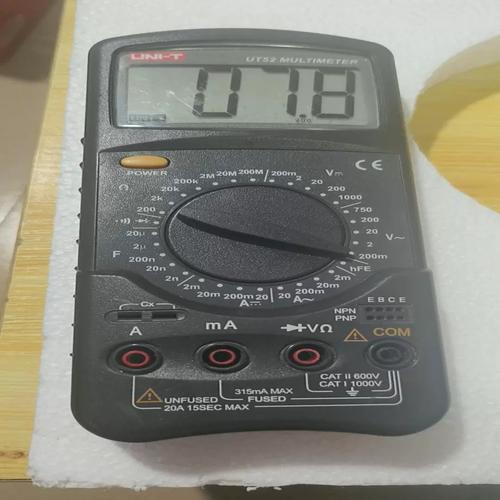
- Display: This is where you’ll see your measurements.
- Function Selector: This dial allows you to select the type of measurement you want to take (voltage, current, resistance, etc.).
- Test Leads: These are the probes that you’ll use to connect to the circuit.
- On/Off Switch: This is located near the function selector and is used to turn the multimeter on and off.
Before using the multimeter, ensure that the test leads are properly connected to the multimeter. The red lead should be connected to the positive port, and the black lead to the negative port. Most uni-t multimeters have a clear indication of which port is positive and which is negative.
Understanding the Function Selector
The function selector on a uni-t multimeter is crucial for accurate measurements. Here’s a brief overview of the common functions and what they are used for:
| Function | Description |
|---|---|
| Voltage (V) | Measures the electrical potential difference between two points in a circuit. |
| Current (A) | Measures the flow of electrical current through a circuit. |
| Resistance (惟) | Measures the opposition to the flow of electrical current in a circuit. |
| Continuity | Tests if a circuit is complete by checking for a low resistance path. |
| Diode Test | Tests the forward and reverse voltage of a diode. |
When selecting a function, make sure to set the selector to the appropriate range. For example, if you’re measuring voltage, set the selector to the voltage range that matches the expected voltage in your circuit. If you’re unsure, start with the highest range and adjust as needed.
Performing Measurements
Once you’ve set the function selector and connected the test leads, it’s time to perform your measurements. Here are some general tips:

- Connect the Test Leads Properly: Ensure that the test leads are securely connected to the correct ports on the multimeter and the circuit.
- Touch the Probes to the Right Points: When measuring voltage, touch the probes to the points in the circuit where you want to measure the voltage. For current measurements, the multimeter must be placed in series with the circuit.
- Read the Display Carefully: The display will show the measurement in the selected unit. Make sure to read the display correctly, taking note of any decimal places or negative signs.
When measuring current, be cautious as you may need to disconnect a component or wire to insert the multimeter in series. Always ensure that the multimeter is set to the correct range to avoid damaging the device or the circuit.
Interpreting the Readings
Once you’ve taken your measurements, it’s important to interpret the readings correctly. Here are some tips:
- Understand the Units: Make sure you’re familiar with the units of measurement for each function (volts, amperes, ohms, etc.).
- Compare to Expected Values: If you have a reference value or expected range, compare your measurement