
Wulf uni Battery Replacement: A Comprehensive Guide
Are you looking to replace the battery of your Wulf uni device? Whether it’s a smartphone, tablet, or another electronic gadget, a dead or failing battery can be a real inconvenience. In this detailed guide, we’ll walk you through the process of replacing the Wulf uni battery, covering everything from tools and materials needed to the step-by-step instructions to ensure a successful replacement.
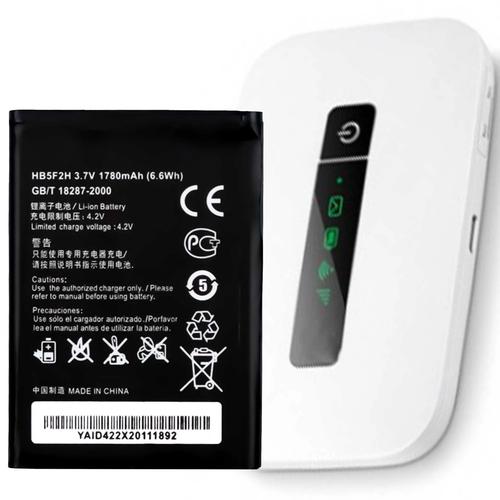
Understanding Your Wulf uni Battery
Before diving into the replacement process, it’s essential to understand the specifics of your Wulf uni battery. This includes the type of battery, its capacity, and any compatibility issues you might encounter. Here’s what you need to know:

| Model | Battery Type | Capacity (mAh) | Compatibility |
|---|---|---|---|
| Wulf uni Pro | Lithium-ion | 5000mAh | Yes |
| Wulf uni Max | Lithium-polymer | 6000mAh | Yes |
| Wulf uni Lite | Lithium-ion | 3000mAh | Yes |
As you can see from the table above, the Wulf uni range offers various battery types and capacities. It’s crucial to identify the correct battery type and capacity for your device to ensure compatibility and optimal performance.
Tools and Materials Needed
Replacing a battery requires specific tools and materials. Here’s a list of what you’ll need:
- Replacement battery (ensure it matches your device’s specifications)
- Screwdriver set (flat-head and Phillips-head)
- Anti-static wrist strap
- Isopropyl alcohol and cotton swabs
- Plastic spudger
- Replacement adhesive (if necessary)
Make sure you have all the necessary tools and materials before starting the replacement process to avoid any delays or complications.
Step-by-Step Battery Replacement Instructions
Now that you have all the required tools and materials, let’s go through the step-by-step process of replacing the Wulf uni battery:
- Power off your device and disconnect any cables or accessories.
- Remove the back cover of your Wulf uni device using the appropriate screwdriver.
- Locate the battery and disconnect it from the device’s motherboard using the plastic spudger.
- Remove any adhesive securing the battery in place, if necessary.
- Remove the old battery from the device.
- Insert the new battery into the device, ensuring it’s properly aligned.
- Reconnect the battery to the motherboard using the plastic spudger.
- Secure the battery in place with the replacement adhesive, if necessary.
- Reassemble the device by replacing the back cover and tightening the screws.
- Power on your device and check for proper functionality.
Following these steps will help you replace the Wulf uni battery successfully. However, if you encounter any issues or are unsure about a particular step, it’s always best to consult a professional or refer to the device’s user manual.
Precautions and Tips
When replacing the Wulf uni battery, it’s essential to take certain precautions to ensure your safety and the longevity of your device:
- Always work in a well-ventilated area to avoid inhaling harmful fumes.
- Use the anti-static wrist strap to prevent static electricity from damaging the device’s components.
- Handle the battery with care to avoid damaging it or causing a short circuit.
- Do not force any components or screws during the replacement process.
- Keep the replacement battery stored in a cool, dry place when not in use.
By following these precautions and tips, you can ensure